Snowking XVIII

Snowking Winter Festival XVIII: Children’s Theater – March 3rd 2013.


SCH_2823 Panorama-2


A view of the inside of the Snowking’s Castle, during the Children’s Theater (March 3rd, 2013).  Click on the image for a larger view.


To view a 360 degree animation of this scene, Click Here. This requires the QuickTime Player. Click the icon on the upper right corner of the animation to get a full view. Depending on network speed, the image may take a moment to load.


SCH_2827 Panorama-2

Stage left:


For more info on the Snowking Winter Festival, Click Here

Camera gear: Nikon D700 and a Peleng 8mm lens on a custom monopole. Four pictures were combined to create the panorama images on this page.

Adding Light using Flash

When the Light isn’t Right: Photography in low light or too much light.

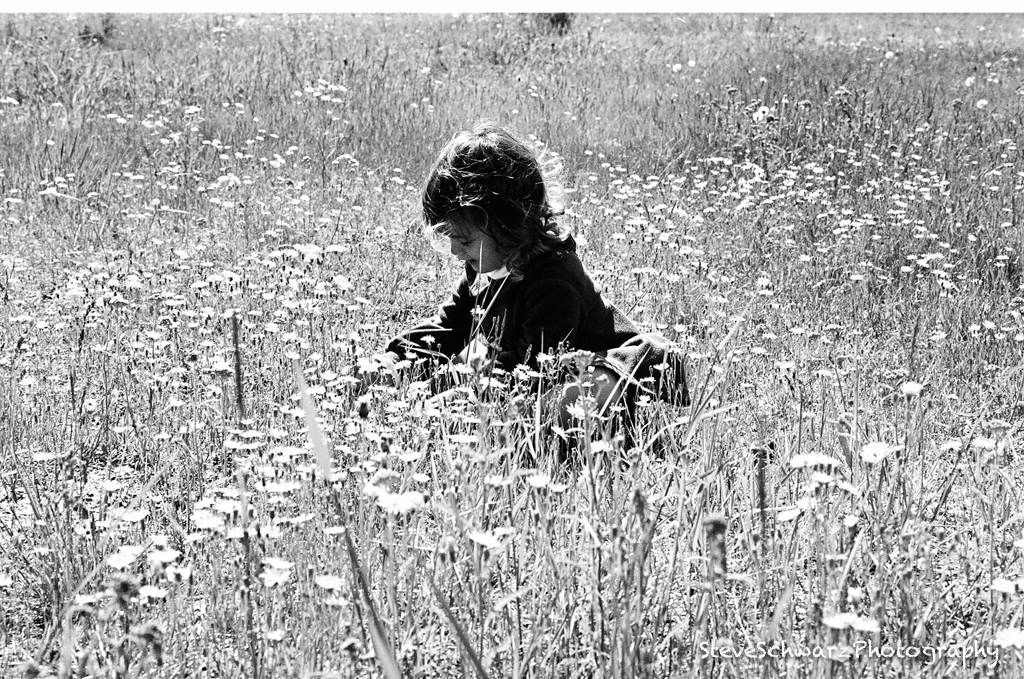
Any keen photographer will tell you that the best light for photography is the ‘magic-hour’ at sunrise and at sunset, and that mid-day or low-light photography should be avoided. For the rest of us, there is a whole day in between and, like it or not, it is our only opportunity to get photos. We simply can’t put life on-hold to wait for the so-called magic-hour. So, how do you get good photos when the light isn’t Right ?.

At any given light, good light or bad light, camera exposure is based on three variables;

  1. Shutter speed (how long the shutter is open). Faster shutter speeds can freeze motion are used when there is good light, where as slower shutter speeds blur moving objects. You might have already noticed that some of you low light photos are blurry. This is because a slow shutter speed is required in low light conditions to allow enough light into the camera for proper exposure. Unless you have a tripod, the shutter speed should be 1/ the focal length of the lens, e.g. a 250mm lens would require a minimum shutter speed of 1/250sec.
  2. Aperture (how much light comes in the lens). In good light conditions, the lens can be intentionally stopped-down (higher aperture number) to reduce the amount of light entering the camera, and increase the depth of field.
  3. ISO or film speed (how sensitive the sensor of film is to light).  Lower the ISO the better. Higher ISO (800, 1200 and higher) adjust the sensitivity of the camera sensor of film to be more sensitive to light, so that photos can be taken is lower light conditions. Unfortunately, this means more more digital noise, and photos that look murky or muddy.

Adding light by using a flash changes everything. Most digital cameras have built-in flash, so you always have a flash when you need extra light. The down side of built-in flash is the quality of light; harsh and people will have red-eye.

If you can, buy a hand held flash unit and a cable to connect the flash to the camera or wireless trigger. This is called off-camera flash. Once you get into it – there is no going back.

Adding Flash

As mentioned above, adding flash (assuming off-camera flash), changes everything for camera exposure. Depending on your camera, flash units are synched to fire at 1/60, 1/125 or 1/250 of a second. If you set your shutter speed higher than your camera’s synch speed the image will be black, or partially black since the flash fired while the the shutter was already closing.

When using a flash, your can set the camera to Auto, or Program and let the camera work out the correct exposure, or set the camera to M for Manual so you can maximize the creative opportunity to over or under expose the background and make the foreground have more ‘Pop’.

In Manual mode

1) Set the shutter speed to the camera’s flash sync speed. You might have to refer to the camera manual to determine your cameras sync speed.

2) Point the camera at the background and set aperture according to the cameras light meter. Do not adjust the ISO – low number is better. The camera is now set to the correct exposure for the background. Some photographers call this “ambient exposure”.

3) Now turn on your flash. It can be set to automatic (TTL) where the flash power is controlled by the camera. This is useful for moving subjects. Setting the flash to Manual means that the flash power is controlled by you. This mode is most useful for portraits, or where you want to fine tune the exposure.

Assuming that you want control over the flash power, now it gets really fun and also a bit complicated.  One step at a time.

  • a) Flash in manual mode means you control the Flash Power. Typical flash power settings are 1/1 (full power), 1/2, 1/4, 1/8, 1/16.
  • b) Off camera flash means you control the Direction of the flash hitting the subject.
  • c) Off camera flash means you control the Flash-Subject Distance. Flash held closer to the subject means less flash power is needed, distant subjects will require more flash power for proper exposure.
  • d) Assuming that your camera is also in Manual mode, with shutter speed set to sync speed. The lens Aperture (controls how much light enters the camera), and also be used to control exposure.  If the subject is overexposed, then reduce the aperture (turn to higher aperture number) : e.g. change aperture f/5.6 to f/8. If the subject is underexposed, then increase aperture.

e)  Other ways to change effect of the flash

  • 1) How does the light from the flash hit the subject. Is the light harsh, creating dark shadows, or more soft with smooth transitions on the subject. Add a diffuser (e.g. softbox or umbrella) to reduce harsh shadows.
  • 2) Coverage: is the flash directed at the entire subject, or only on a portion of the subject. Coverage can be modified (reduced) by zooming the flash, moving the flash closer to the subject, or adding a diffuser.


Go ahead – take a photo. See how it looks and make adjustments.


Folk on the Rocks (FOTR)


Folk on the Rock (FOTR) started as a small gig in 1980, and has now considered to be one of Canada’s BEST music and cultural festivals.

Highlights include artists and musicians from across the north, across Canada and international all coming together for a weekend of musical and cultural magic on six separate stages. FOTR is held on the third weekend of July, in Yellowknife.


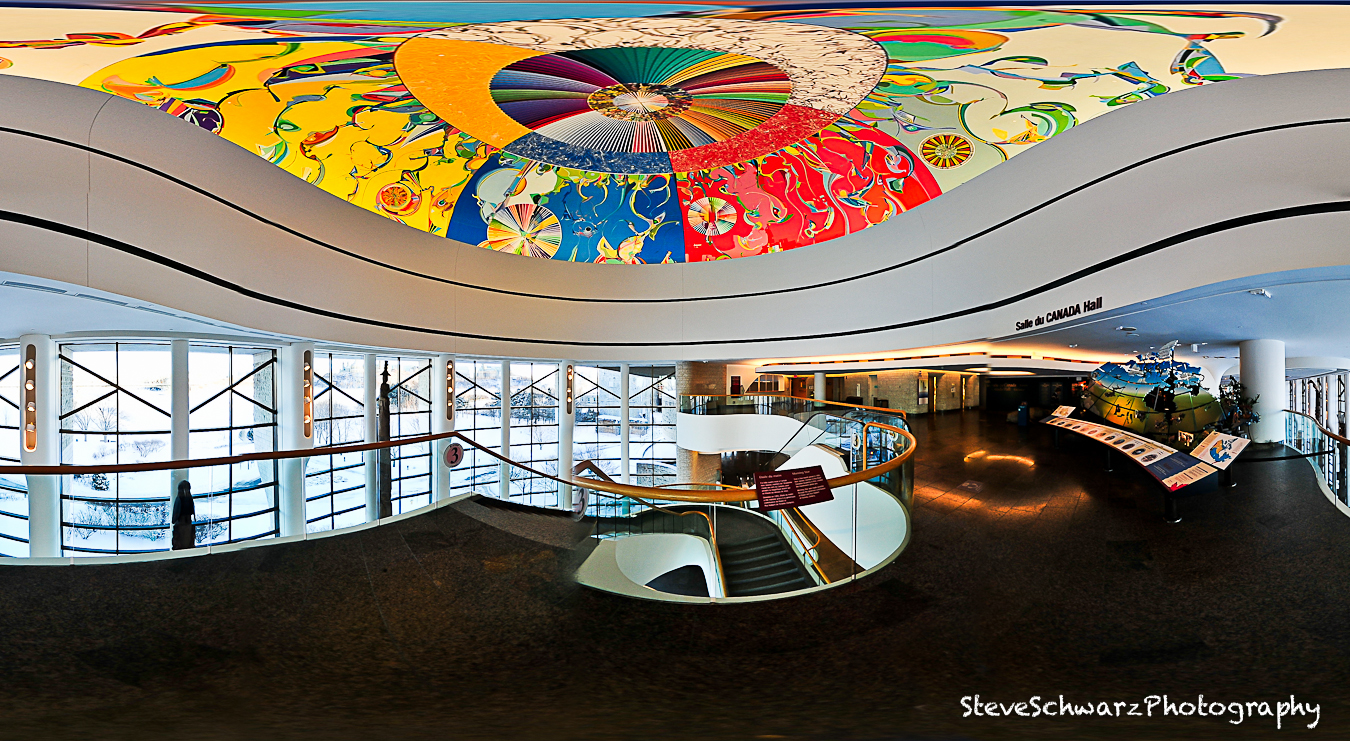
A split view of the Main Stage.


A view of the Cultural Stage. Click on the image for a larger view.


To view a 360 degree animation of this scene, Click Here. This requires the QuickTime Player. Click the icon on the upper right corner of the animation to get a full view. Depending on network speed, the image may take a moment to load.

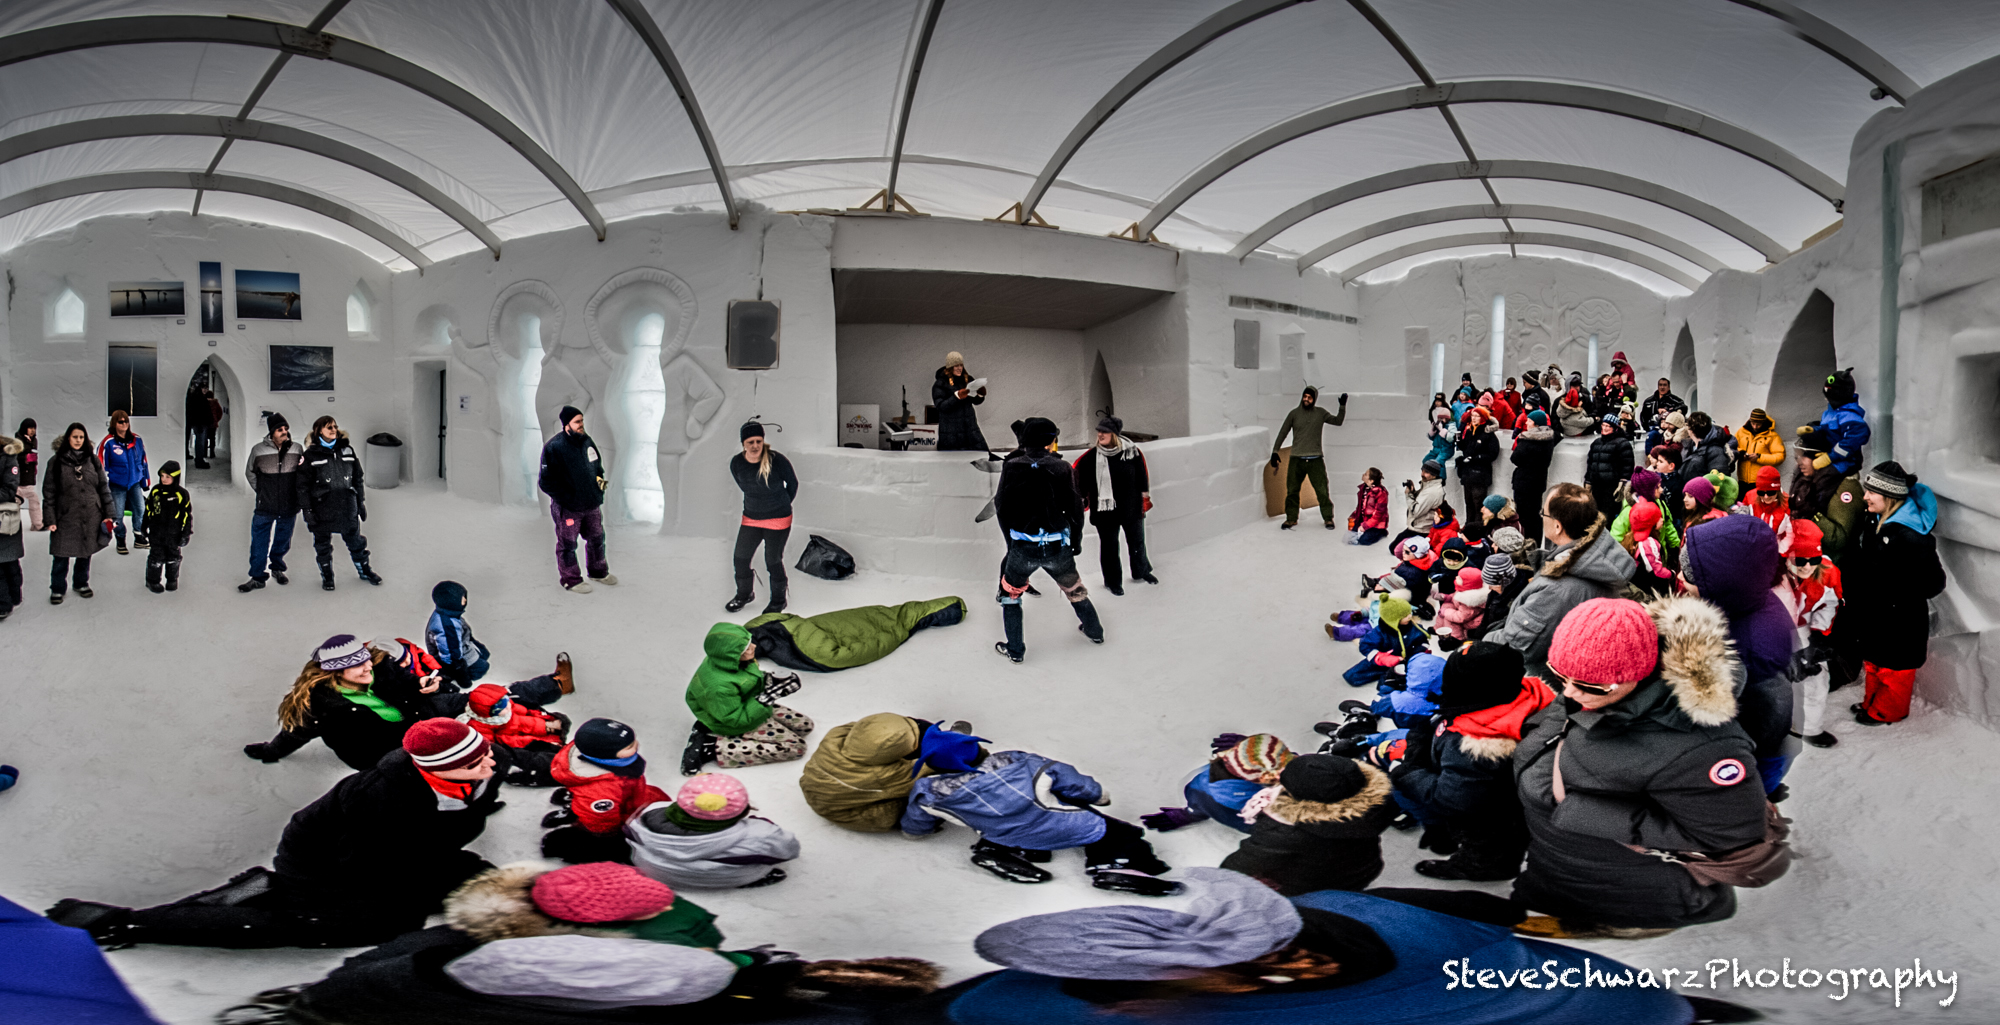
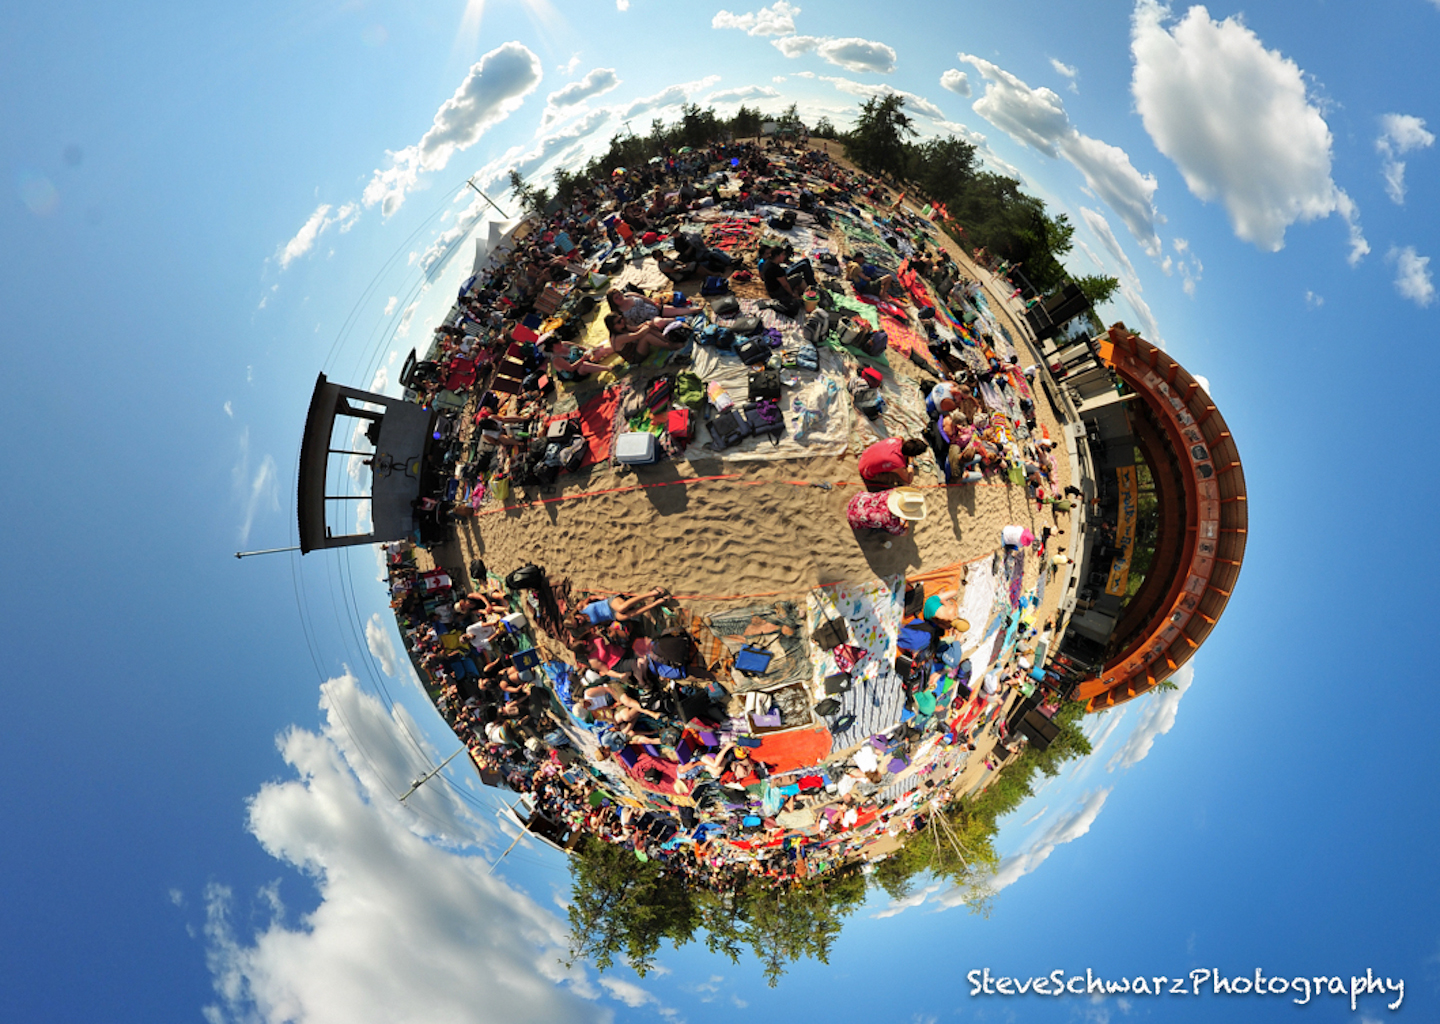
“Little Planet” view of the Kids Stage. Click on the image for a larger view. Click ‘back’ on your browser to return to this page.
View a 360 degree animation of the Main Stage, Click Here.  Click the icon on the upper right corner of the animation to get a full view.


“Little Planet” view of the Main Stage. Click on the image for a larger view. Click ‘back’ on your browser to return to this page.


To view a 360 degree animation of “And the woman said” on Stage Left. Click Here This requires the QuickTime Player. Click the icon on the upper right corner of the animation to get a full view.

Everyone’s favorite place to be on a hot sunny day….The Beer Garden

To view the 360 degree animation of “Snake People” in the Beer Gargen . Click Here This requires the QuickTime Player. Click the icon on the upper right corner of the animation to get a full view.

To view the 360 degree animation of “Hot Vibrator” in the Beer Garden. Click Here This requires the QuickTime Player. Click the icon on the upper right corner of the animation to get a full view.


“Little Planet” view of the Beer Garden. Click on the image for a larger view. Click ‘back’ on your browser to return to this page.


Camera gear: Nikon D700 and Samyang/Bower 8mm on a monopole. Four pictures were combined to create the panorama images on this page.

Old Town Yellowknife – from MacEvoy Rock

To celebrate May Day (May 1st) and the coming of spring, I headed up MacEvoy Rock in Yellowknife’s Old Town. Of the two hills in Old Town, Pilot’s Monument is higher and far more popular that MacEvoy Rock. For creating panoramas and a quite place to hang out, MacEvoy Rock suits me perfectly.

In this image, downtown Yellowknife is directly under the sun on the right side of the image. Pilot’s Monument is in the middle of the photo, and Back Bay is on the far left.

Click on the image for a larger view.


Click ‘back’ on your browser to return to this page.

To view the 360 degree animation. Click Here This requires the QuickTime Player. Click the icon on the upper right corner of the animation to get a full view.

Compare to Panorama from July 12, 2011.

Camera gear: Nikon D700 and Nikon 20mm/2.8 lens on a monopole. 12 pictures were combined to create the panorama images.

DIY: External Battery for Flash

My Nikon SB-600 drains AA batteries like there is no tomorrow, and I am tired of replacing or re-charging batteries.

A quick internet search reveals many ways to replace AA batteries with larger, longer lasting batteries. The SB-600 flsh uses 4x AA (1.5 volt) batteries, which together add up to 6 volts.

Materials:
Wooden dowel, the same width (or slightly narrower) than AA batteries
2 screws (size not important)
Wire (18 gauge speaker wire) from electronics store
6 volt square battery from hardware store.

Total cost $10.

Tools:
wire cutters
electrical tape
rubber bands

Instructions:
The simplest way, is to make two fake batteries that fit into the battery slots on the flash. Cut two wooden dowels to the same length as AA batteries. Add a screw at one end of each wooden dowel and carve a narrow slot the length of the dowel to fit the wire. Strip approx 1 cm from the end of each wire, and wrap one wire clockwise around each wooden dowel (One dowel with a red wire, one dowel with a black wire). Tighten the screw around the wire. Place the wire in the slot and wrap with electrical tape.


Place the wooden plug with red wire into the (+) slot on the flash, and the black wire into the (-) slot.

Use the rubber bands (or tape) to partially close the door of the flash unit. The door will not close completely since it was not designed to have wires hanging out, however, the door must be closed enough to keep the screw on the wooden plug in-contact with the springs in the bottom of the battery holder.


Cut the remaining wire to the appropriate length, what ever length you decide is best. Strip approx 1 cm from each end. Attach the red wire to the (+) prong of the battery, and the black wire to the (-) prong on the battery. If you get it mixed up, it should not fry your flash. I tested mine.  Instead of the large 6 volt cube battery, you can also use four ‘C’ and ‘D’ cells wired together.

Thanks to Matt Kenney’s post: Diy Photography.net, ‘Power your flash with a flashlight’.

In-Action Photography*

As photographers we are on the sidelines using our cameras to capture the moment and capture the action. As an active person, naturally, we want to participate in sport activities.

However, in my experience, cameras and active sports do not seem to go together very well. I been frustrated with cameras since they were not designed for active participation in sport activities. Large SLR’s require two hands to operate, and most point-n-shoot cameras didn’t have suitable image quality. Neither camera types are rugged and waterproof. Actually, during the past 20 years, I have destroyed (and drowned) a few cameras trying to combine sport and photographing the action.

Until now.

In August 2011 I bought a GoPro camera. It is small (fits in the palm of my hand), waterproof, has an interval timer, and HD video. Additional specifics can be found on the GoPro website (http://gopro.com/). For a photographer, the GoPro has one setting – On or Off, and does not have any user adjustable exposure settings. Also, it only comes with one lens. Are these limitations ?. No, since they free the photographer to concentrate on the photo, and not be burdened with adjusting exposure or wondering if they are using the right lens for the situation. For an active person wanting to photograph sports events, the GoPro accessories are available for attaching to bicycle handlebars, seat posts, helmets, a head and chest harness, and using the stick-on brackets can be attached to almost anything. The small size of the GoPro and the variety of available (and easily customized) brackets and harness allow a full range of movement for any sport or activity.

Now, the photographer can be in the action, photograph the action, and no longer burdened by a camera*.

In-Action Photography* refers to photography where the photographer is photographing the action while in the action. This differes from Action Photography, which is photography of an action (e.g. sports event) and does not specifically refer to the photographer being part of the action.
All the photos on this page were captured by the photographer.   Downhill skiing photos captured using a GoPro on a chest harness, and kite skiing photos by a GoPro attached on the ski tip using a custom bracket. Click on the photos to make them larger.

Downhill skiing – unburdened by a camera

Check the shadow – try that with a hand held camera !


Cutting the Soft Stuff – kite skiing


Shadow at lower right corner is the GoPro

More kite skiing photos are on this link

Roy’s Audiotronic

A blustery spring afternoon seemed like the perfect time to wander through Roy’s Audiotronic shop on the lower level of the Yk Mall in Yellowknife NWT.

Click on the image for a larger view.

To view the 360 degree animation click on this image

Click the icon on the upper right corner of the animation to get a full view. Click the mouse and drag the screen to move around.

This animation requires the Quicktime Player.

Camera gear: Nikon D700 and Samyang/Bower 8mm on a 7 foot pole. Four pictures were combined to create the panorama images.

Silence the Critics

Believe it – there are Creative Critics in your Head !

Actually, your head has two Creative Critics; one is your Personal Creative Critic, and the other one is for everyone else.

So, what’s the big deal ?. According to CreativeMinds.Org (http://creativeminds.org/articles/age.htm) by age 12 we are only using 2% of our creative potential, and that is all we have for the rest of our lives. Where did the other 98% go ?.  CreativeMinds.Org suggests that our creativity is lost through the rules of society, the education system, habits, employment or social hierarchy (where you assume that your subordinates actually believe that you are all knowledgeable).    These may all be valid observations. I see the Critic as the most destructive method of Creativity.  Your own Creativity is stifled by your Personal Creative Critic [Self-Criticism] (“I am not good enough”, “their work is so much better”)…bang…Creativity is dead. Criticism from others is also (unfortunately) a very effective way of killing Creativity (“Why do you spend so much time on that”, “If you need a Photo.. I’ll take it for you”).

Photography is 90% creative and 10% technical. Anyone can learn the technichal apects; how to use a camera, and how to adjust exposure. Being creative with that black box is far more challenging. At times, my Personal Creative Critic takes over, not even letting me put the camera to my eye. I can carry my camera for hours and not even take one photo…’everyone is watching me’ or ‘if i take a picture of this – people will stop and stare’. Have you ever noticed how other people react when you put a camera to your eye ? It seems asthough the world stops and all eyes are on you.  Maybe it is just my Personal Creative Critic.

It is hard overcomming the Personal Creative Critic. Just when you have beat it down, along comes the other Critic – Someone else. ‘I told you …do it this way’….’why are your lines crooked’….Bang…Bang…Bang.

Standing up to Criticism is the hardest thing that we have to overcome. For sum of us, it is easier than for others.

Hang on to that remaining 2% of your Creative potential and don’t let is be pounded down by the Critics.

Kite Skiing: Tips for Beginners

A few weeks ago and kite skiing friend (Chris – not his real name) mentioned that he was going to sell his kite –
“Why” I asked, “kiting is an awesome sport, what’s up”

Chris, is an emergency room doctor and over the past few months had seen several patients with serious kite skiing related head injuries. For Chris, the thrill of kite skiing was gone, replaced with the fear of a head injury.

As an avid kite skier, I had to know what had caused these injuries, and why were so many people getting seriously injured. Without providing specific details, Chris mentioned that the four casualties were all relatively new to the sport of kite skiing. Thinking back to when I started kite skiing 10 years ago, yes, I did have more accidents. Some of those accidents were due to the sport being new to Yellowknife and the lack of experienced kite skiers, some accidents due to my lack of experience, and other accidents related to doing stunts (e.g. intentionally getting lifted). Also, the kite that I purchased on-line was a whopping 4.9m (square meters). At the time, this was considered ‘far too big, and I would get hurt’. Fortunately, none of my crashes were serious and I quickly gained sills and experience.

Ten years later, I am still using that same kite. The kiting scene in Yellowknife has changed dramatically; more kiters, there is a licensed kite school and the kites are now 12 to 20 meters in area. You can’t even buy a kite as small as mine anymore. Nowadays, the kites are very different in design than my now vintage kite. A suitable analogy would be, my kite as a 1950’s sports car and modern kites akin to a Ford 350; big, powerful and with extra features like cruise control and airbags. Really, those new kites are big and powerful and can actually be flown with one hand !

So, going back to why have there been four serious kite skiing head injuries during the past few months ?. I don’t think we will ever know exactly what happened, and it would not be fair of me to speculate on what happened.

Instead, I’ve created a list of 10 tips to pass on to beginner kite skiers. These are based on personal experience of 10 yeas of kite skiing, and conversations with other, experienced kite skiers.

  1. Always wear a Helmet: Wearing a helmet can reduce the risk of brain injury when your head comes down hard on the snow.
  2. Watch the Clouds: Fast moving clouds are a warning that a wind pattern is imminent.
  3. Know your Wind Limit: Know your wind comfort zone and if the wind gets too strong, then pack up and go home.
  4. Watch for Obstructions: Keep your eyes on the path in front of you and do no watch only kite. Hitting a snowbank at high speed can be very painful.
  5. Stay Away from Bare Ice: The metal edges of skis (or snowboards) are not designed for ice. In a strong wind, they will slide out from under you.
  6. Use a Safety Harness: If you suddenly are overpowered by the wind and are out of control, a safety harness, connected to your break lines gives you the ability to completely let go of your kite and it will not blow away.
  7. Learn the Rules of Kite Skiing: Although the link refers to kite surfing, the rules and concepts are the same for kite skiing.
  8. Do Not Attempt Stunts until you have mastered the basic techniques.
  9. Icy Snow, epically after a thaw and freeze cycle is unforgiving. Sharp snow can shred your kite and you, and is really fast. I usually wait until the snow has softened. Your knees will than you.
  10. Get a lesson or two from a licensed instructor.

Have fun.


Canadian Museum of Civilization (Musée canadien des civilisations)

The Canadian Museum of Civilization (Musée canadien des civilisations) showcases human history and the cultural diversity of Canada. It is also home to the Canadian Children’s Museum, the Canadian Postal Museum, and an IMAX Theatre.

The Museum is located in Hull Quebec, in a architecturally unique building directly across the Ottawa River from the National Art Gallery of Canada.

These panorama and virtual reality images are of (1) the lobby area of the Canada Hall, (2) Canadian Postal Museum, and a (3) “streetscape” of a village in New France.

Click the image to start the virtual reality animation, then, click on icon on the upper right corner of the animation to get a full view. Click the mouse and drag the screen to move around.

(1) Click on the image below to view the 360 degree virtual reality animation of the Lobby area of the Canada Hall.

(2) Click on the image below to view the 360 degree virtual reality animation of the Lobby area of the Canadian Postal Museum

(3) Click on the image below to view the 360 degree virtual reality animation of a village in New France

Camera gear: Nikon D700 and Peleng 8mm/3.5. Typically I use a tripod or monopod to reduce camera movement, the images for these panoramas were taken free-hand, and as such have more errors. Five pictures were combined to create the panorama images.