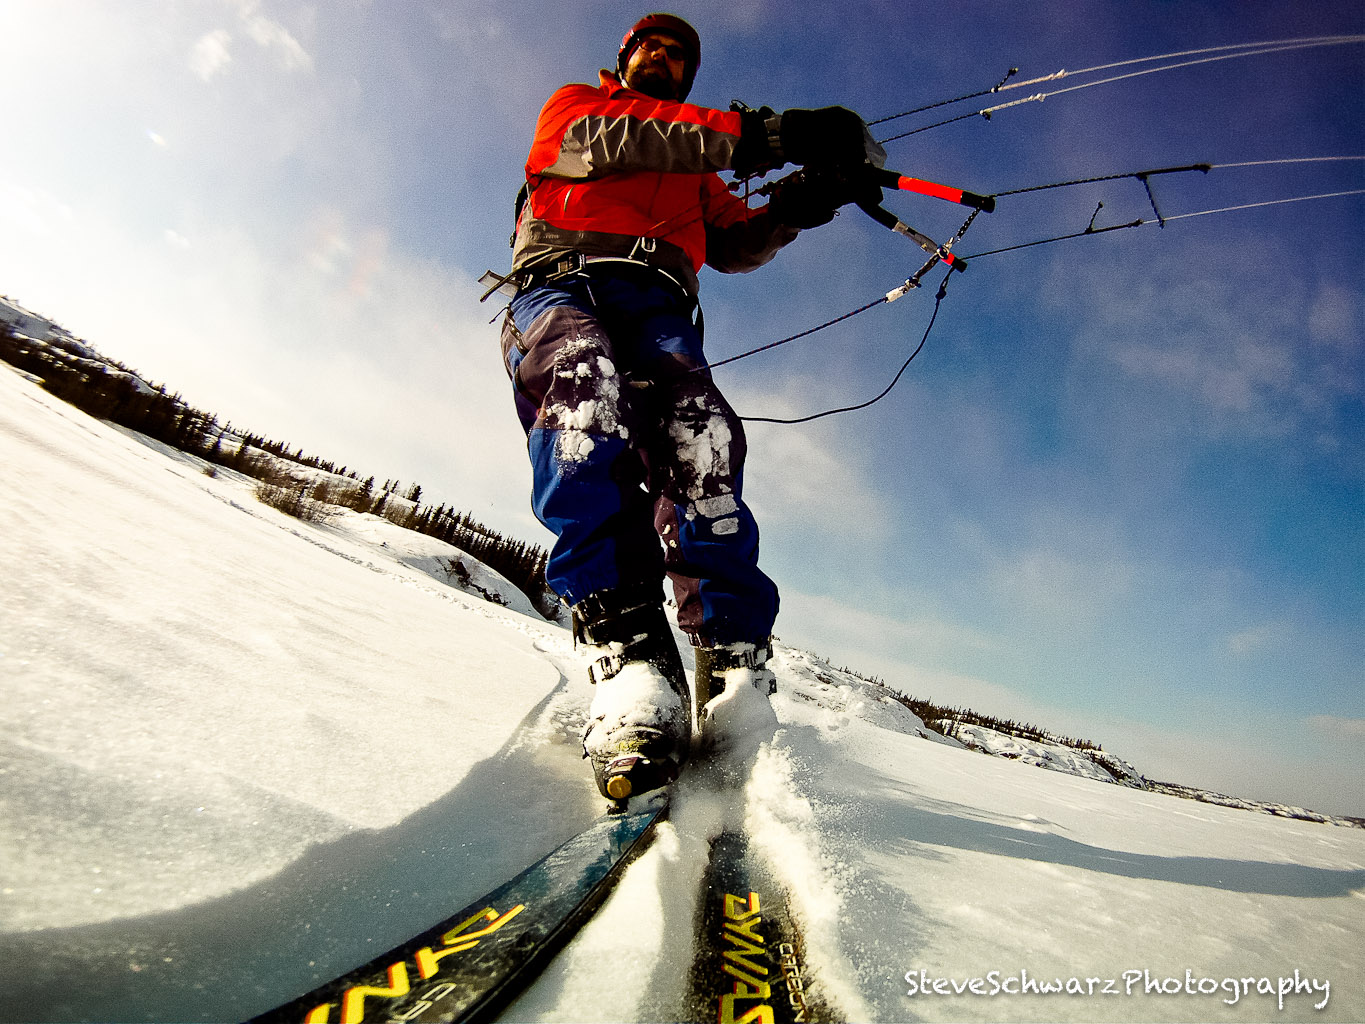
A few weeks ago and kite skiing friend (Chris – not his real name) mentioned that he was going to sell his kite –
“Why” I asked, “kiting is an awesome sport, what’s up”
Chris, is an emergency room doctor and over the past few months had seen several patients with serious kite skiing related head injuries. For Chris, the thrill of kite skiing was gone, replaced with the fear of a head injury.
As an avid kite skier, I had to know what had caused these injuries, and why were so many people getting seriously injured. Without providing specific details, Chris mentioned that the four casualties were all relatively new to the sport of kite skiing. Thinking back to when I started kite skiing 10 years ago, yes, I did have more accidents. Some of those accidents were due to the sport being new to Yellowknife and the lack of experienced kite skiers, some accidents due to my lack of experience, and other accidents related to doing stunts (e.g. intentionally getting lifted). Also, the kite that I purchased on-line was a whopping 4.9m (square meters). At the time, this was considered ‘far too big, and I would get hurt’. Fortunately, none of my crashes were serious and I quickly gained sills and experience.
Ten years later, I am still using that same kite. The kiting scene in Yellowknife has changed dramatically; more kiters, there is a licensed kite school and the kites are now 12 to 20 meters in area. You can’t even buy a kite as small as mine anymore. Nowadays, the kites are very different in design than my now vintage kite. A suitable analogy would be, my kite as a 1950’s sports car and modern kites akin to a Ford 350; big, powerful and with extra features like cruise control and airbags. Really, those new kites are big and powerful and can actually be flown with one hand !
So, going back to why have there been four serious kite skiing head injuries during the past few months ?. I don’t think we will ever know exactly what happened, and it would not be fair of me to speculate on what happened.
Instead, I’ve created a list of 10 tips to pass on to beginner kite skiers. These are based on personal experience of 10 yeas of kite skiing, and conversations with other, experienced kite skiers.
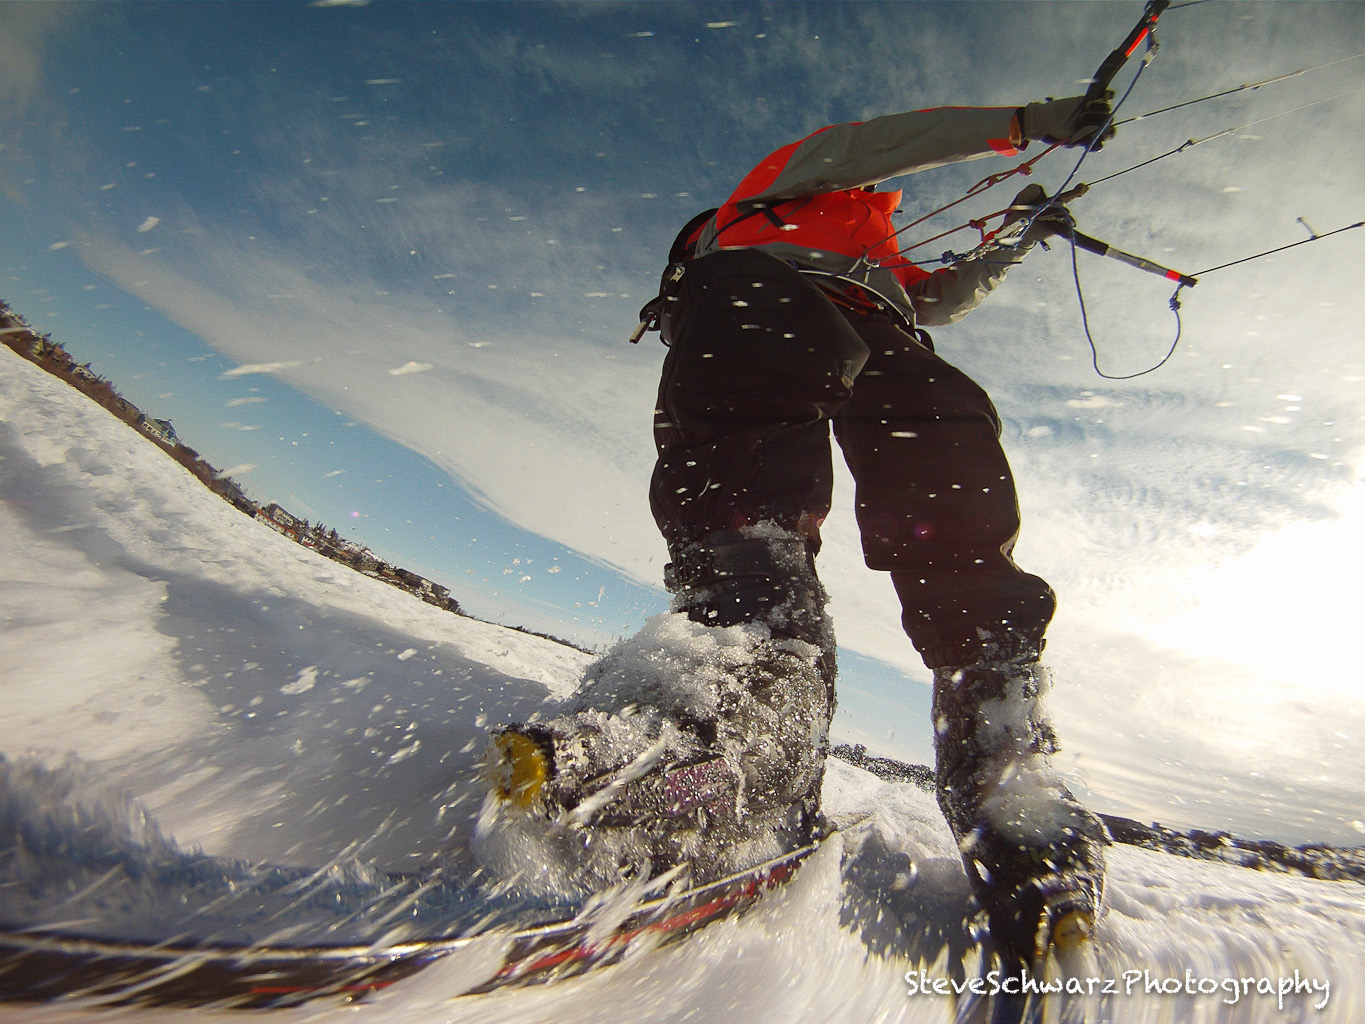
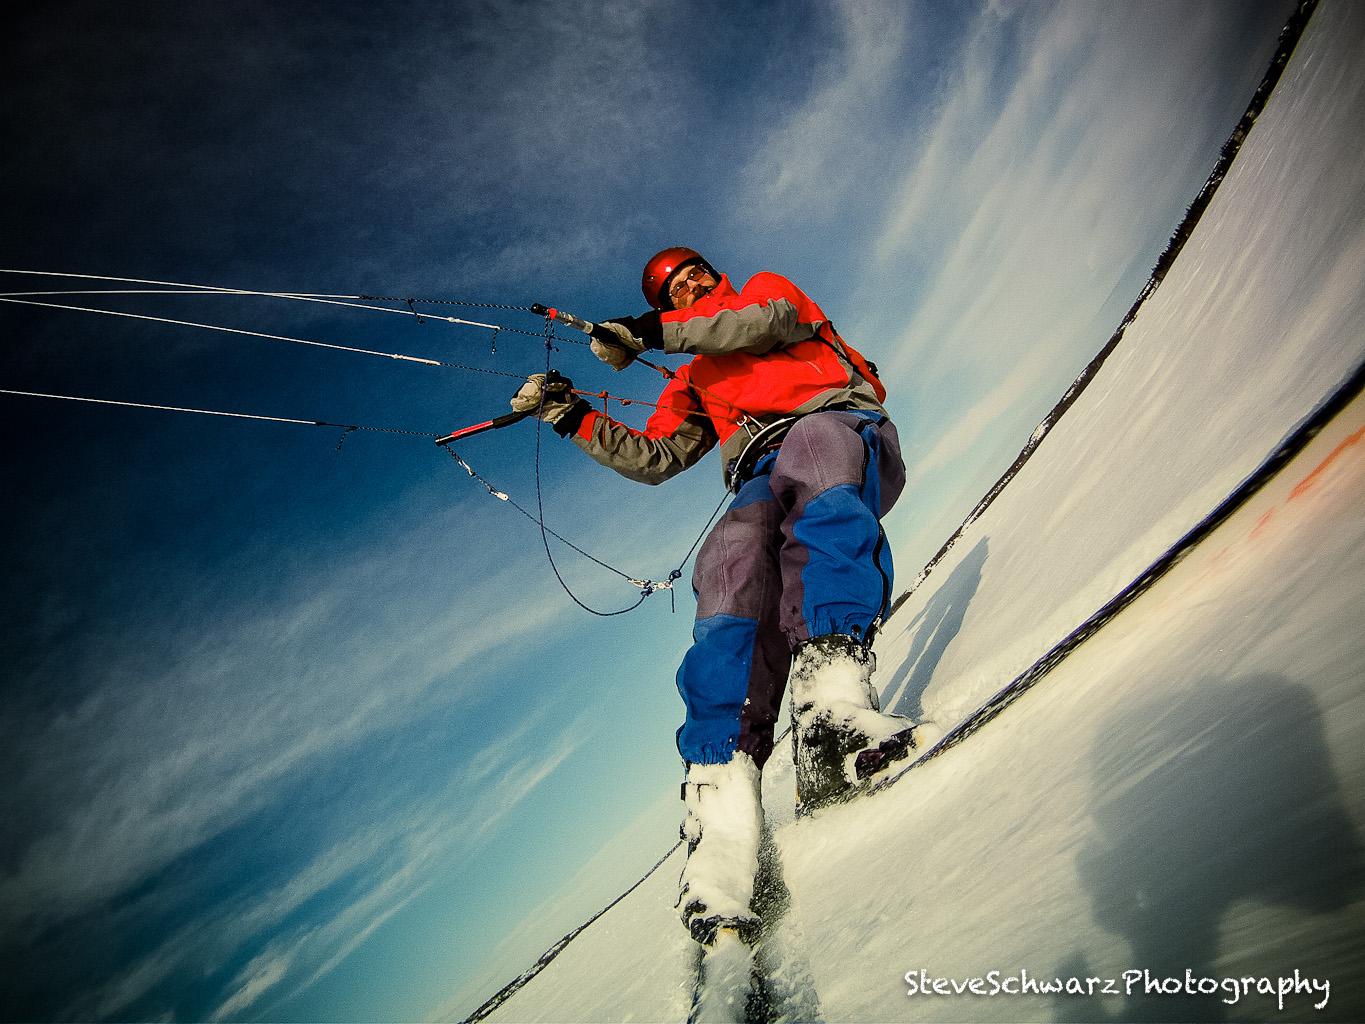
- Always wear a Helmet: Wearing a helmet can reduce the risk of brain injury when your head comes down hard on the snow.
- Watch the Clouds: Fast moving clouds are a warning that a wind pattern is imminent.
- Know your Wind Limit: Know your wind comfort zone and if the wind gets too strong, then pack up and go home.
- Watch for Obstructions: Keep your eyes on the path in front of you and do no watch only kite. Hitting a snowbank at high speed can be very painful.
- Stay Away from Bare Ice: The metal edges of skis (or snowboards) are not designed for ice. In a strong wind, they will slide out from under you.
- Use a Safety Harness: If you suddenly are overpowered by the wind and are out of control, a safety harness, connected to your break lines gives you the ability to completely let go of your kite and it will not blow away.
- Learn the Rules of Kite Skiing: Although the link refers to kite surfing, the rules and concepts are the same for kite skiing.
- Do Not Attempt Stunts until you have mastered the basic techniques.
- Icy Snow, epically after a thaw and freeze cycle is unforgiving. Sharp snow can shred your kite and you, and is really fast. I usually wait until the snow has softened. Your knees will than you.
- Get a lesson or two from a licensed instructor.
Have fun.